How to: Build a Rockery
How to: Build a rockery
Get the Guide: How to: Build a Rockery
Any garden would benefit from a rockery or rock garden. A rockery's goal is to mimic the hilly habitat where Alpine plants thrive, which must have excellent drainage and lots of sunlight. Once established, they are fairly low care and add structure and a focus point to the garden.
While butterflies will rest in the sun on the larger rocks, the smaller cracks and crevices made during the construction of a rockery can also serve as habitats for small insects. Pick alpine plants and wildflowers that offer a source of pollen and nectar to draw wildlife to your rockery.
Here are the instructions for creating a rockery garden:
Step 1: Find your location
To ensure the success of your rockery, choose a location carefully. Ideally, it should be situated in a sunny area. Instead of a spot in dappled shade, pick a spot that gets as much direct sunlight as you can. Consider your garden's microclimate and stay away from locations that are particularly prone to frost or wet conditions.
Step 2: Design your rockery
After deciding on a place, you must design your rockery. Create a map of the rock placement on paper or digitally. Think about where you will get your rocks from; a nearby reclamation yard can be helpful. Consider the sizes that are needed for your design, as well as how you will move them. You might need more equipment or to invite some family and friends over to help.
Step 3: Prep the area
After you've planned your rockery, mark the area in your garden where you'll be working with string or sand. Then, before putting in the rocks, you'll need to prepare the space. Depending on your design, hard landscaping may be needed to obtain the desired height.
A base layer of landscape fabric should be added to help prevent future weed growth and to assist keep the soil in place after removing any existing weeds. If you do not wish to use landscape fabric, cover the area with a thick layer of mulch to prevent weeds.
Step 4: Place keystone rocks as focal points
After that, arrange the rocks where you want them to be. When moving them, especially your largest rocks, use caution. You may require a crowbar or the assistance of relatives or friends. To obtain the required height and effect of the rockery, these "keystones" must be properly positioned; for a natural appearance, tilt them a little backward. Use smaller rocks and soil to firmly anchor these big rocks in place after burying them up to a third of their depth.
Step 5: Prepare the soil and surrounding area
Prepare the compost before planting once all of the huge boulders are in place and you are satisfied with the layout of the garden. Alpine plants will grow well in compost that is composed of three parts: one part loam, one part horticultural grit, and one part leaf mould or coir.
Step 6: Plant out your rockery
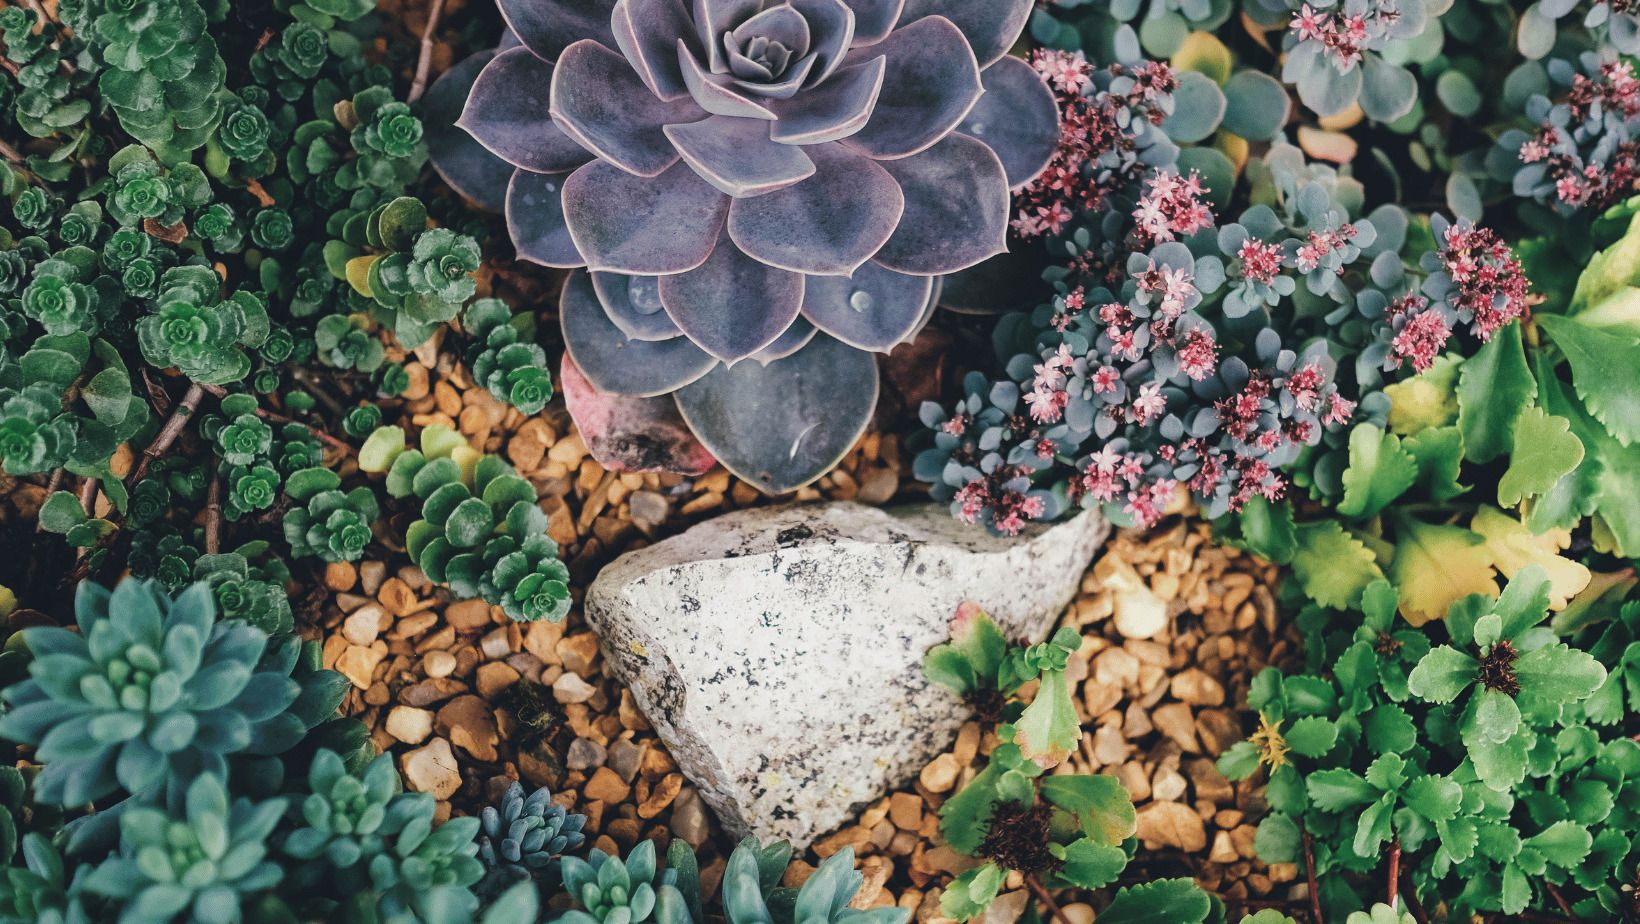
Planting is the last step in making your rock garden. To assist generate a natural aesthetic, look for areas where plants would often grow in alpine circumstances. Put plants in their pots first to make sure you're getting the intended effect. After planting, cover the area with a layer of gravel or small rocks to enhance drainage even more.
Although many of the plants used in rockeries can withstand our gardens, some are adapted to high altitudes and harsh climates. For your rock garden, you can find a variety of alpine plants at most garden centres, but it's also worthwhile to look into lesser-known kinds.
The majority of alpine plants need full sun, although certain kinds can tolerate some shade if they are planted in a rock garden that is situated in a shaded region of the garden or behind larger boulders.
If you have enjoyed this blog, you might also enjoy:
- Get Creative with Garden Pathways
- How to: Create a Low Maintenance Garden
- How to: Create a Zen Inspired Garden


