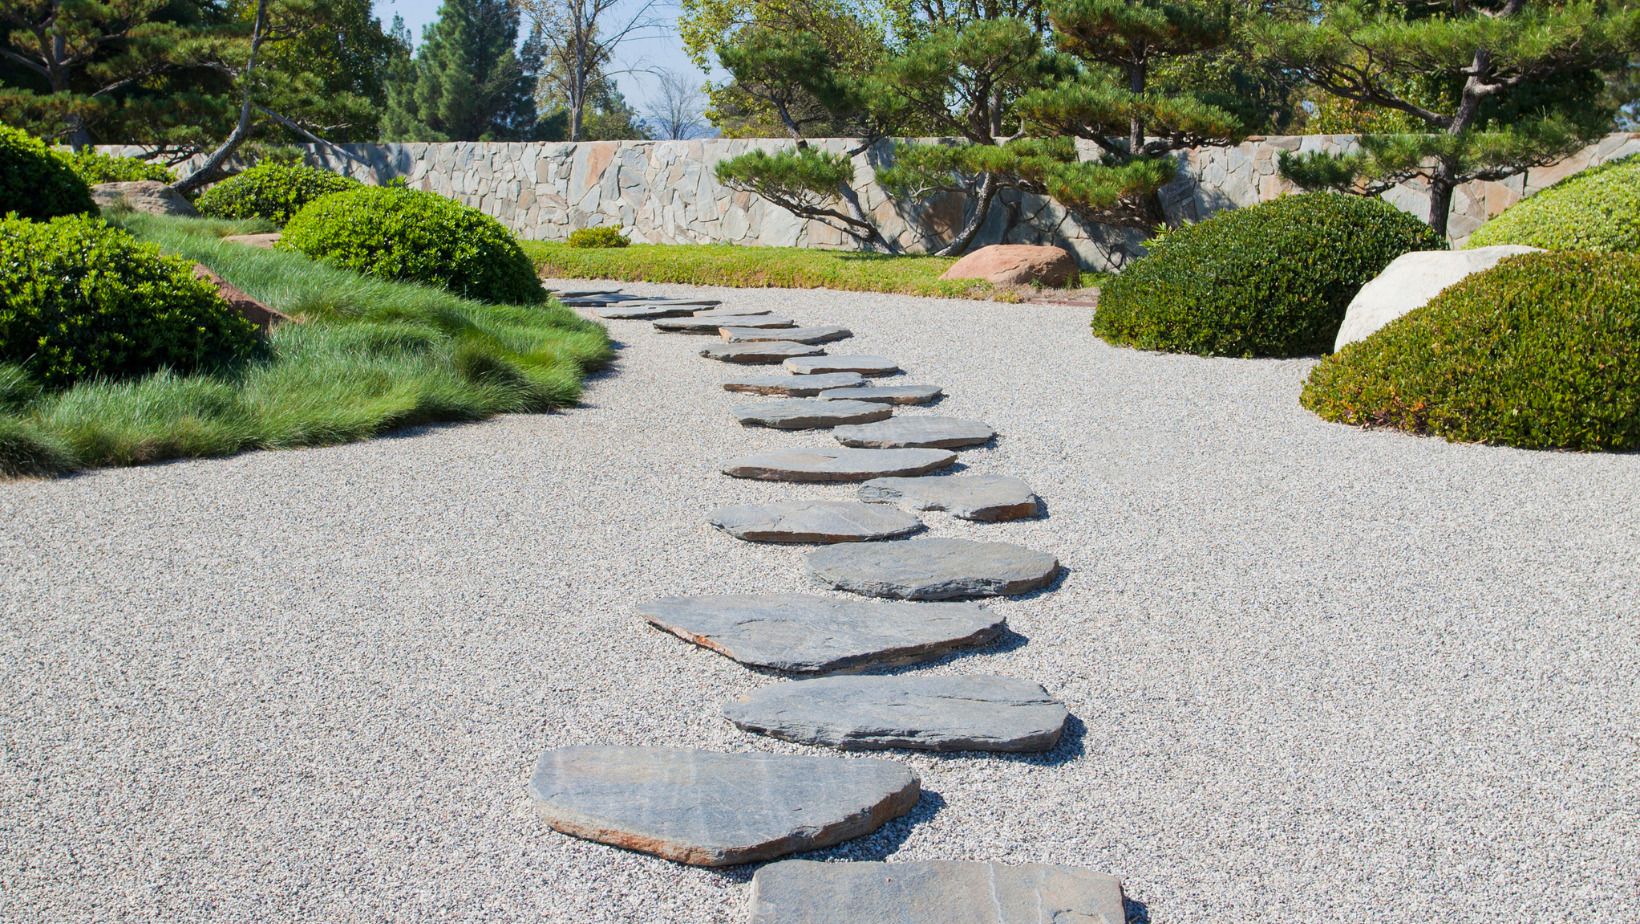
How to: Create a Pebble and Paving Stone Pathway
How to: Create a Pebble and Paving Stone Pathway
Are you looking to add a stylish and functional pathway to your backyard?
A pebble and paving stone pathway could be just what you need. Not only does it provide a safe and stable surface for walking, but it can also add visual appeal to your outdoor space. In this step-by-step guide, we'll show you how to create your own pebble and paving stone pathway.
Materials:
- Paving stones
- Pebbles or decorative stones
- Sand
- Gravel
- Landscape fabric
- Spade or shovel
- Rake
- Tamper or plate compactor
- Measuring tape
- Level
Step 1: Plan and Measure the Pathway
The first step in creating your pathway is to plan and measure the area where it will be located. Use a measuring tape to mark out the pathway and use a spade or shovel to dig up any grass or debris in the area. Determine the desired thickness of the pathway and dig out the soil to that depth.
Step 2: Create a Base Layer
To create a solid base for your pathway, spread a layer of gravel at the bottom of the trench. Use a tamper or plate compactor to compact the gravel and create a stable base.
Step 3: Lay Down Landscape Fabric
Lay down landscape fabric over the gravel layer to prevent weeds from growing through the pathway and to stabilize the pebbles and paving stones.
Step 4: Add Sand Layer
Spread a layer of sand over the landscape fabric and use a rake to ensure it is level. At Stone & Water World, we have the fine Silica Sand and the slightly coarser Southern White Sand
Step 5: Lay Down Paving Stones
Carefully lay the paving stones on top of the sand layer, making sure they are level and flush with each other. Use a level to check their alignment and a rubber mallet to tap them into place if necessary.
Step 6: Add Decorative Stones or Pebbles
Spread a layer of decorative stones or pebbles over the paving stones. Use a rake to spread them evenly and create a visually appealing finish.
Step 7: Compact the Pathway
Use a tamper or plate compactor to compact the pebbles and paving stones into the sand layer. This will help to stabilize the pathway and prevent shifting over time.
Step 8: Add Finishing Touches
Use a broom or leaf blower to remove any excess pebbles or stones from the pathway. You may also want to add decorative edging or plants alongside the pathway to enhance its appearance.
Conclusion
By following these steps, you can create a beautiful and functional pebble and paving stone pathway in your backyard. With proper planning and preparation, the installation process can be smooth and enjoyable. So why not get started on your pathway project today?
Shop our selection of paving stones and pebbles at Stone & Water World to get started on your pathway project today!
If you have enjoyed this blog, you might also enjoy:
- How to: Choose the Right Stone for your Pathway or Patio
- A guide to New Zealand Schist, Pebble and Riverstone


